How it works
From Order to Online
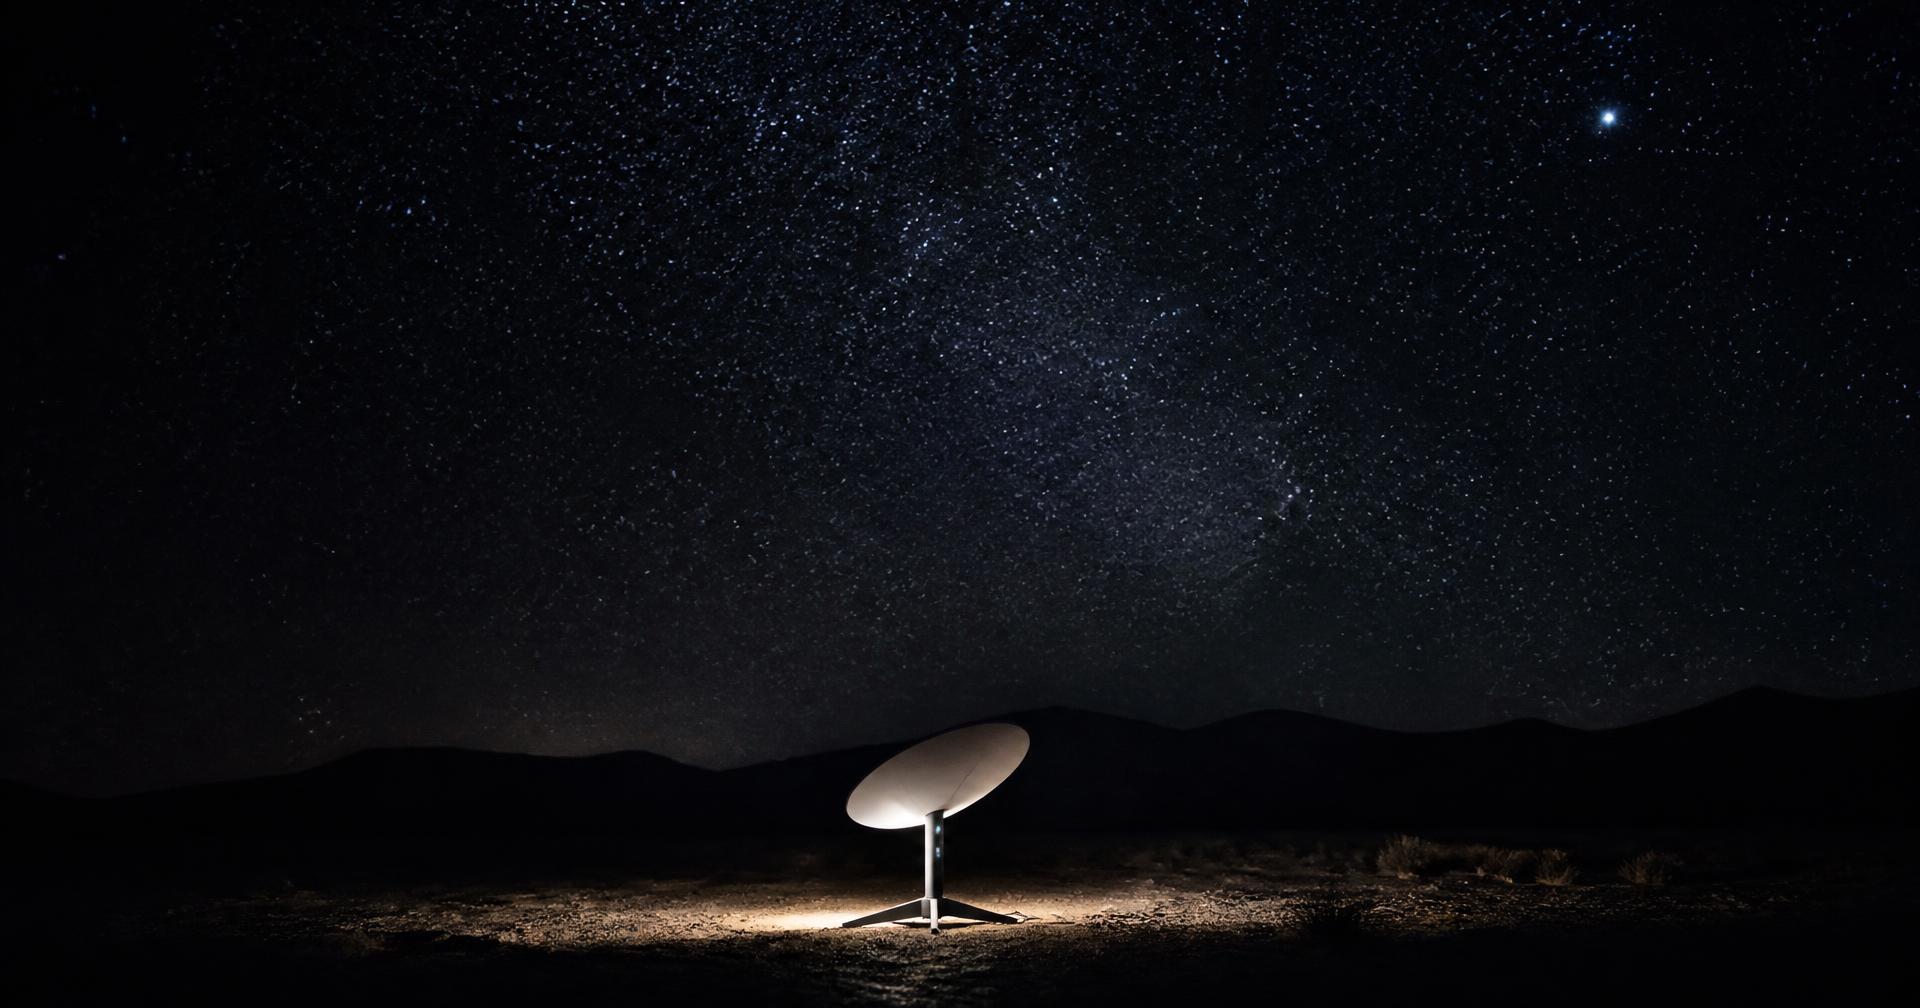
Starlink is designed for straightforward installation. Here is what the journey looks like.
The process
Six steps
- 01
Choose Your Service
Residential for a fixed home address, Roam for portable use, Business for offices, field sites and backup connectivity.
- 02
Order Your Hardware
Select the kit that matches your use case, or ask our team to recommend one for your location.
- 03
Find a Clear View of the Sky
The terminal needs an unobstructed view of the sky. Use the obstruction check in the Starlink app before you mount anything permanently.
- 04
Install Your Kit
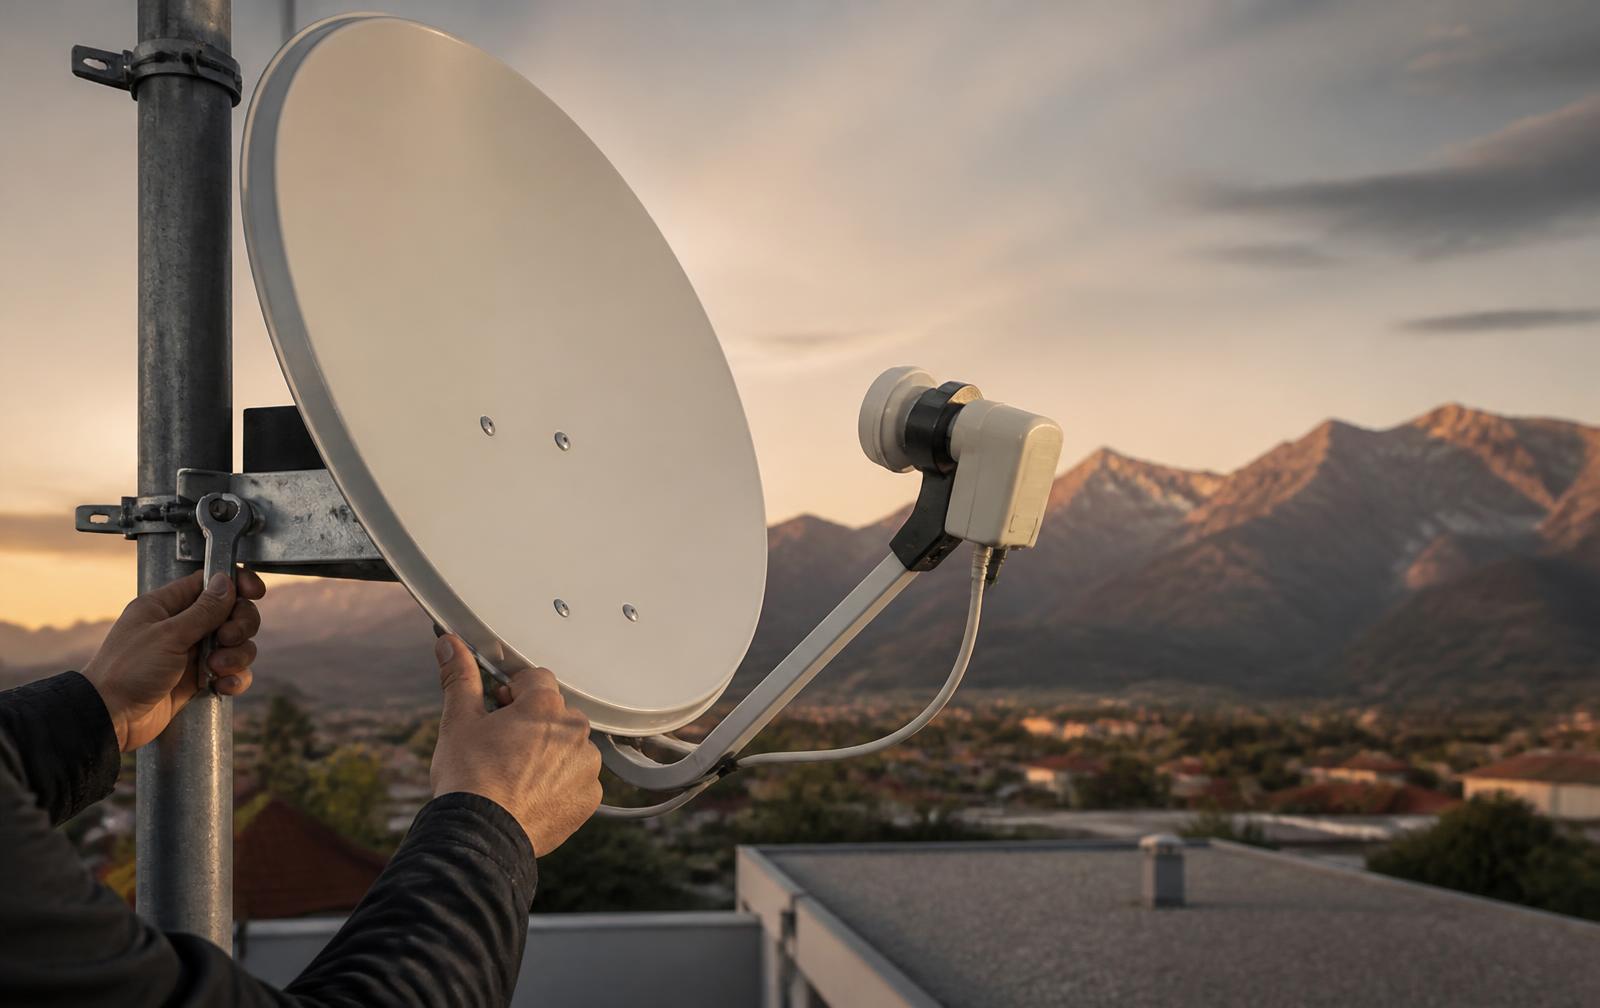
Mount the terminal securely, route the cable into the building with a drip loop, and connect the router and power supply.
- 05
Connect
The terminal aligns itself and comes online. Set up your Wi-Fi network in the Starlink app.
- 06
Manage Your Service
Service, address and plan settings are managed from your Starlink account. Our local team assists with anything you need along the way.

The network
Connectivity from low Earth orbit
Starlink is operated by SpaceX using a constellation of satellites in low Earth orbit. Because those satellites are far closer to the ground than traditional geostationary systems, the round trip for your data is shorter.
Your terminal maintains a link with satellites passing overhead, which is why an unobstructed view of the sky matters so much for a stable connection.
Before you start
What you need
- A clear, unobstructed view of the sky
- A stable mounting surface — roof, pole or ground stand
- Mains power at the installation point
- A cable route into the building
- The Starlink app on a phone or tablet
- A little patience during the first alignment
Not comfortable with roof work? Our partner team offers installation assistance — contact us for scope and availability in your area.